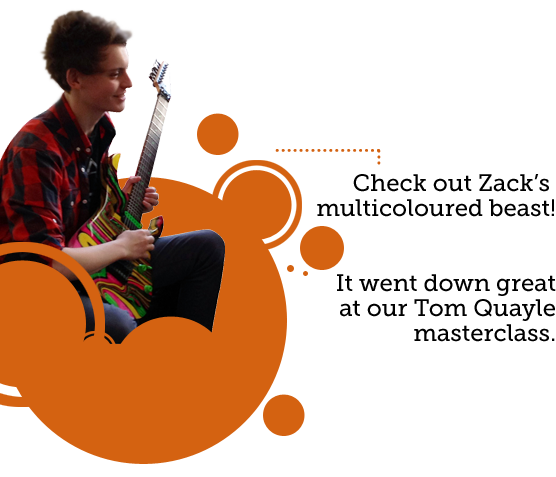
Ever wondered how they create swirl effect guitars? Well this video reveals all.
If you fancy trying it yourself you could follow this walkthrough from ehow.com. I hold no responsibility for the results though! More specific instructions below these.
- Prepare the guitar for dipping. Remove the strings of the guitar and remove the body from the neck of the guitar. Sand the body of the guitar until you have removed the shiny coating. Waterproof the guitar by filling the holes of the guitar with wax.
- Fill the plastic storage container with 40-45 gallons of water. You can use a smaller plastic container, but a 50-gallon container will give you more room to submerge the guitar without bumping the sides. You can use water from the taps, water jugs or a hose to fill the container.
- Add one cup of borax to the water. Wearing rubber gloves, use a large spatula, broom handle, stick or a similar object to mix the borax around in the water. Mix until you do not see any more borax floating in the water and it has been completely dissolved.
- Allow the water to sit for 30 minutes.
- Test a drop of paint in the water to see if there is the correct amount of borax in the water. Borax helps to decrease the surface tension on the water and allows the paint to spread and swirl freely in the water. Add a drop of oil paint to the water and watch to see whether it swirls and spreads on the surface of the water. If it does you have enough borax. If the paint does not separate and swirl, add more borax in 1/4-cup increments and retest using another drop of paint.
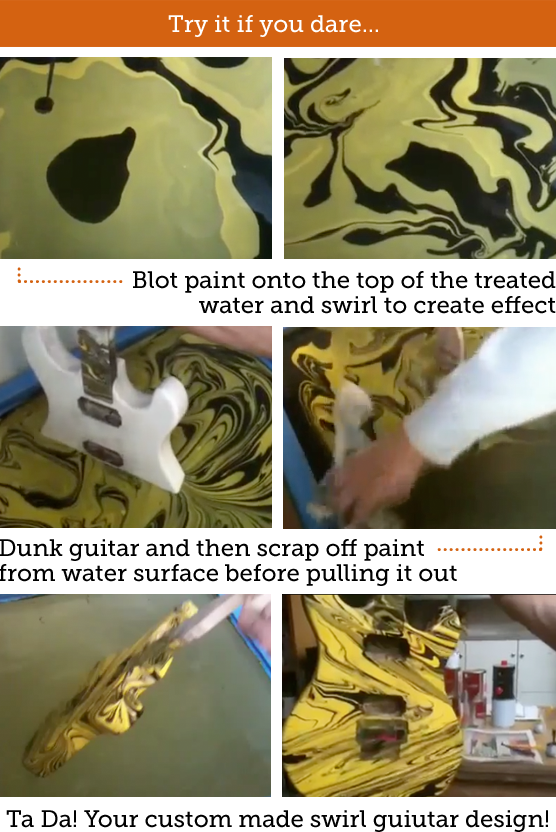
- Add oil paint to the water with whatever colors you have chosen. The paint colors will swirl around in the water and mix with one another.
- Pour darker colors in first before light colors and always allow the previous color to fully spread and dissipate before adding a new color. Use a broom handle or piece of wood to mix the colors together in a swirling pattern. Test the swirl paint with different objects, such as rags, pieces of paper, pieces of wood, etc. so you can see the process of dipping objects into the swirl paint and testing the color strength. It is important to test the dipping and paint process before dipping your guitar into the paint. You may need to add more paint to the container in order to achieve a darker color. Test the length of time needed to dip the object in order to achieve your desired look. This will be a process of testing and re-testing until you have found your desired swirl look.
- Dip the guitar body into the swirl paint and remove.
- Remove the top layer of paint by laying down a newspaper on the top surface of the container. You can then add more paint to try out different colors and swirl patterns.
- Allow the guitar body to dry for 24 hours before touching.
- Remove the excess water using a heat lamp, fans, hair dryer or another similar object.
- Allow the guitar body to dry for 24 hours before touching.
Good luck and on your head be it! It would totally be worth it if it came out like my student’s guitar below.